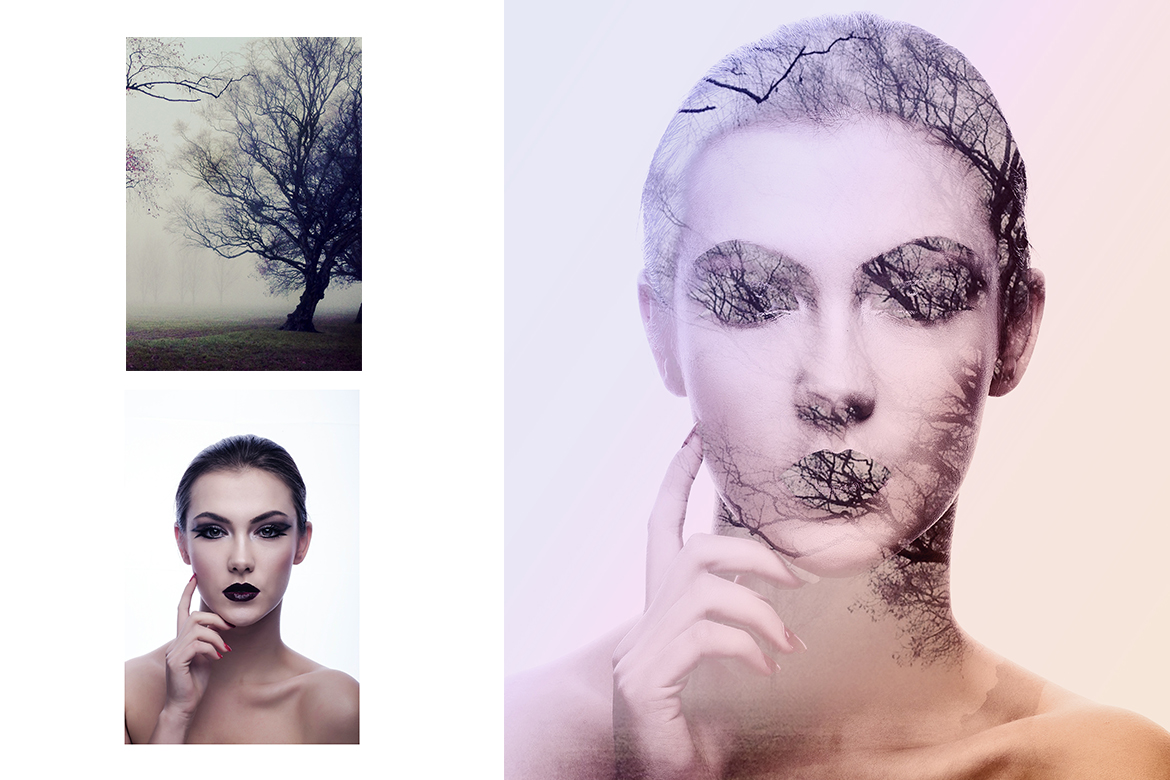
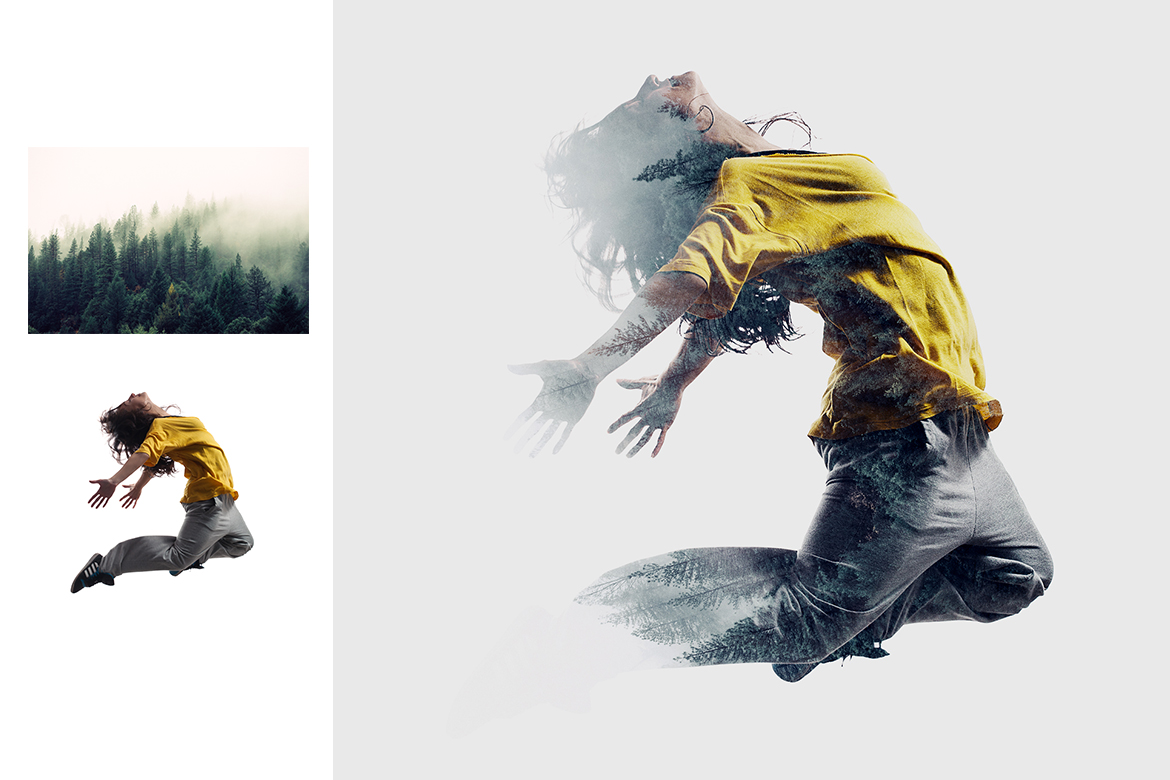
Double Exposure Action :
a great tool for a photographer or designer. Create a wonderful effect of double exposure in a few seconds. After action finished work, you can add a color tone, or gradient to your composition. This effect is one of the leading places on the number of sales for many months!
1. Make sure you are using the English version of Photoshop. Each action has been created and optimized to work only with the English version of Photoshop, so please make sure that you are using this version. If not, don’t worry: you can change the language of your version of Photoshop to English (and switch back again) using this method
2. Use the RGB Mode and 8 Bits color. To check these settings, go to Image->Mode and check the “RGB color” and “8 Bits/Channel”.
3. Make sure that the option “Add ‘copy’ to Copied Layers and Groups” is turned on. This option applies only to CS5 and later versions of Photoshop. On the “LAYERS” panel, click on the menu icon, go to “Panel Options…”, and check that the “Add ‘copy’ to Copied Layers and Groups” is turned on.
4. Use a photo with 72dpi or higher. If you are using a photo with less than 72dpi, the action will not function correctly. To fix this, go to Image->Image Size and increase the resolution value.
5. Set the Opacity of brush to 100%. Set the Opacity of the brush to 100%. Select the “Brush Tool” and move the opacity slider to 100%.


Maya Patel –
Authentic feedback and reviews to guide you in your purchasing decisions.
Ava Smith –
Easy access to educational resources to elevate your skills.
Ibrahim Yilmaz –
Learning opportunities with webinars and tutorials offered.
Kaito Nakamura –
The FAQ section answers all your questions on digital graphics.