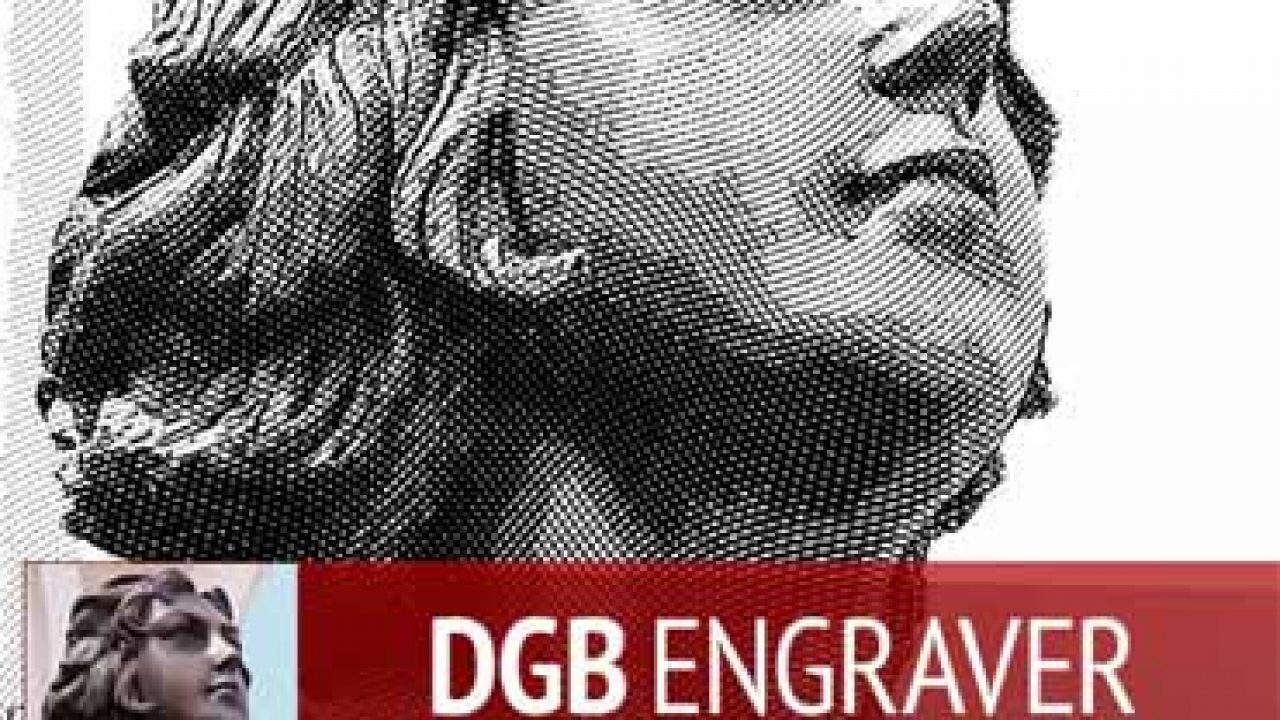
DGB Engrave action kit – That’s a tool to easily turn a photo into stylized engraving. Although this process is very simple, please read the manual to avoid mistakes. DGB Engrave action kit has been tested on Photoshop CS4, CS5 & CS3 (Thanks for J).
Video tutorial: https://www.youtube.com/watch?v=WDlR2_A3Fbwhttp://youtu.be/m-Al3a2h2a0 In Photoshop: 1. Load graver.atn to the Photoshop action panel. 2. Open graver-source.psd file. 3. Open your image. 4. Place your image into the graver-source document. (drag&drop or copy&paste). 5. Adjust size and position of the image. 6. Make sure the selected (active) layer is your image. Select any of the of 7 scripts. Run an action! Note. When the Curves or Hue-Saturation dialog appears, simply click OK and continue with the script. Do NOT interrupt the action!
graver-Normal – A black and white touches of approximately the same contrast as an original. graver-Light – A black and white touches lighter than an original. graver-Dark – A black and white touches darker than an original. graver-Color-Image – A black and white touches with background image as an original. graver-Color-Lines – A colored touches in colors of an original. graver-Color-Back – A black and white touches and solid background color (editable in layers). graver-Color-Solid-Lines – A colored touches.


Reviews
There are no reviews yet.